Low Prices
We believe that our customers shouldn't have to sacrifice quality or service for great prices. Value in print has been our difference since 1922.
The Conquest Graphics Difference
We frequently check our competition to make sure our prices are the best you can find anywhere. In fact, we encourage you to compare our prices to any other printing company.
While our prices are very low—a major reason we frequently get new business—it's our prices and quality that keep customers coming back. A customer survey with over 700 responses ranked quality as the number two reason for doing business with us. In fact, some of our clients have told us that because our prices are so low, they almost didn't print with us as they thought the quality couldn’t be great. We have gladly proven otherwise to them!
Conquest Preferred Paper
We take pricing as well as performance seriously. As a high-volume national printer, our paper is specially formulated to perform best with our state-of-the-art equipment. This yields our customers an unmatched result in the industry for quality, speed, and value.
Since we can count on our paper's performance in terms of ink absorption, drying time, cutting ease, and feeding accuracy, the typical processing waste is nearly eliminated. This saves time and paper, as well as offers consistency in color matching and vivid color performance.
We purchase this paper in large quantities and always have it on hand in all our facilities. By always having Preferred Stock paper ready, we can give you accurate delivery times, savings on shipping costs, and increase the desirability of the final product by adding a menu of features to the paper, such as Aqueous and UV Gloss Coating, among many others.
Combined Shipping
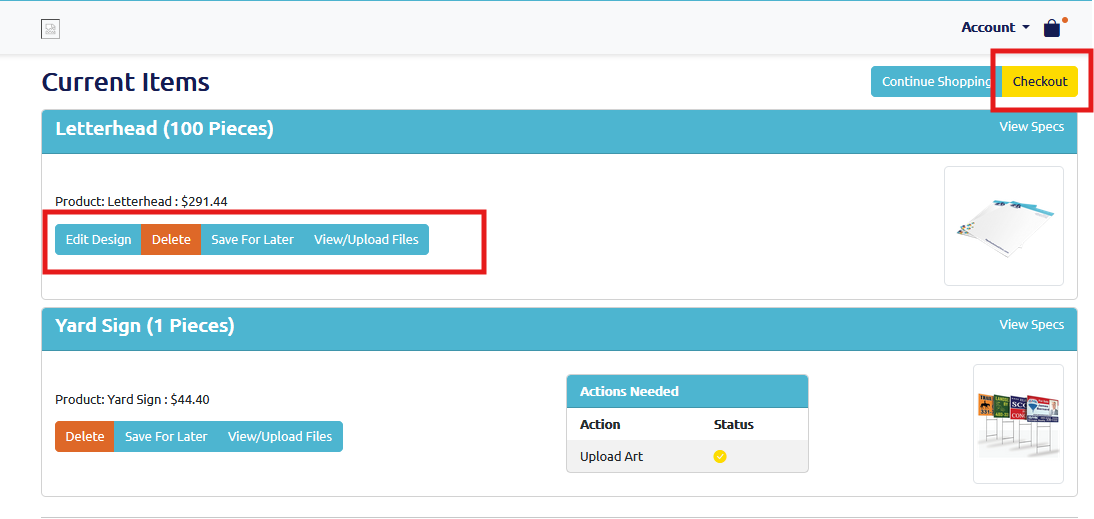
When possible, as part of our workflow process, we’ll combine your jobs together for shipping in order to save you money. This applies to orders placed at the same time on our website when "checked out" together in the same shopping cart transaction.
For example, if you placed an order for one set of business cards shipped via overnight delivery and three more sets shipped via ground service, you would have to check out as two transactions. If you were to check out as one transaction, then the overnight cards would wait to ship until the other three jobs have finished. All four jobs would leave together to save on delivery costs.
Look for the "Combined Shipping Eligible!" icon when placing your order to know if this cost-saving service is available on the items that you desire. As always, if you have any questions, please contact us.
Real Value With Great Service
We hope you will appreciate not just our low prices and superior quality but also our customer focus. We believe that without satisfied and happy customers, we would not exist as a productive business today.
We also want you to know that when you call or chat in at Conquest Graphics, you will actually speak to a Customer Service professional with years of print industry experience who is working in the United States of America—not a robot or telemarketer sitting in an offshore call center trying to make quotas.
If you find any price lower than ours, we want to know. We will be glad to sharpen our pencil and see if we can better our pricing. We appreciate your business and will do everything we can to earn and keep it, including helping you find the best options to meet your goals and budget.
Just Some of What We Offer on Top of Low Prices
High-Quality
The quality of our products won’t disappoint. We’re committed to providing you with only the best products and marketing solutions at the best price.
Advanced Tech
As a technology company with a focus on print, we’re constantly improving our systems and upgrading our equipment to offer you the very best.
Fast Speeds
With our Quick Ship program and expedited turnarounds available, we guarantee we’ll always have your project ready and delivered when you need it.
Team of Experts
Not only do we already provide the lowest prices possible, but our team of experts is also here to help you find the best options for your specific budget.
Sample It For Yourself
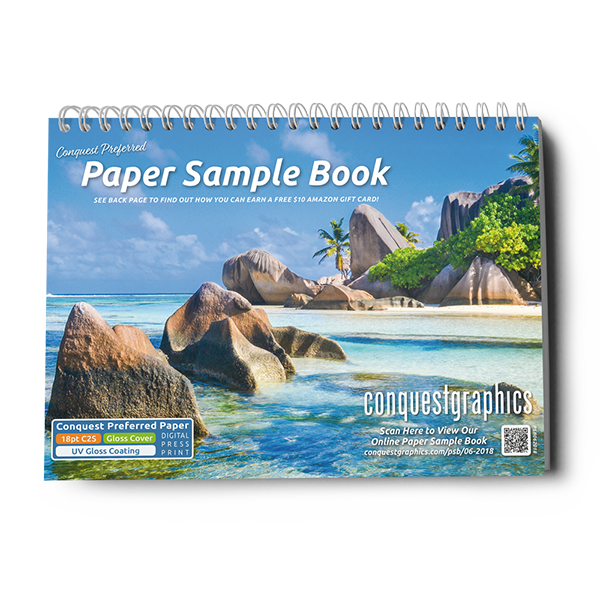
Paper Sample Book
Our Sample Booklet features rich, colorful Preferred Stock samples in each of our most popular paper weights, coating configurations, and value. Which includes examples of our offset and digital presses.
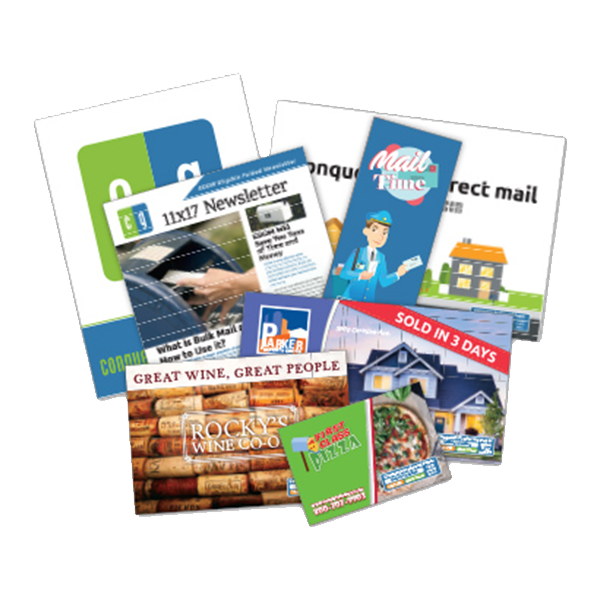
Direct Mail Idea Pack
Our Direct Mail Idea Pack uses full-size samples of our most popular mail pieces so you can envision how your mail project will look and feel. Each sample even highlights a suggested mailing method.